
Learning to select a filter: what you should pay attention to
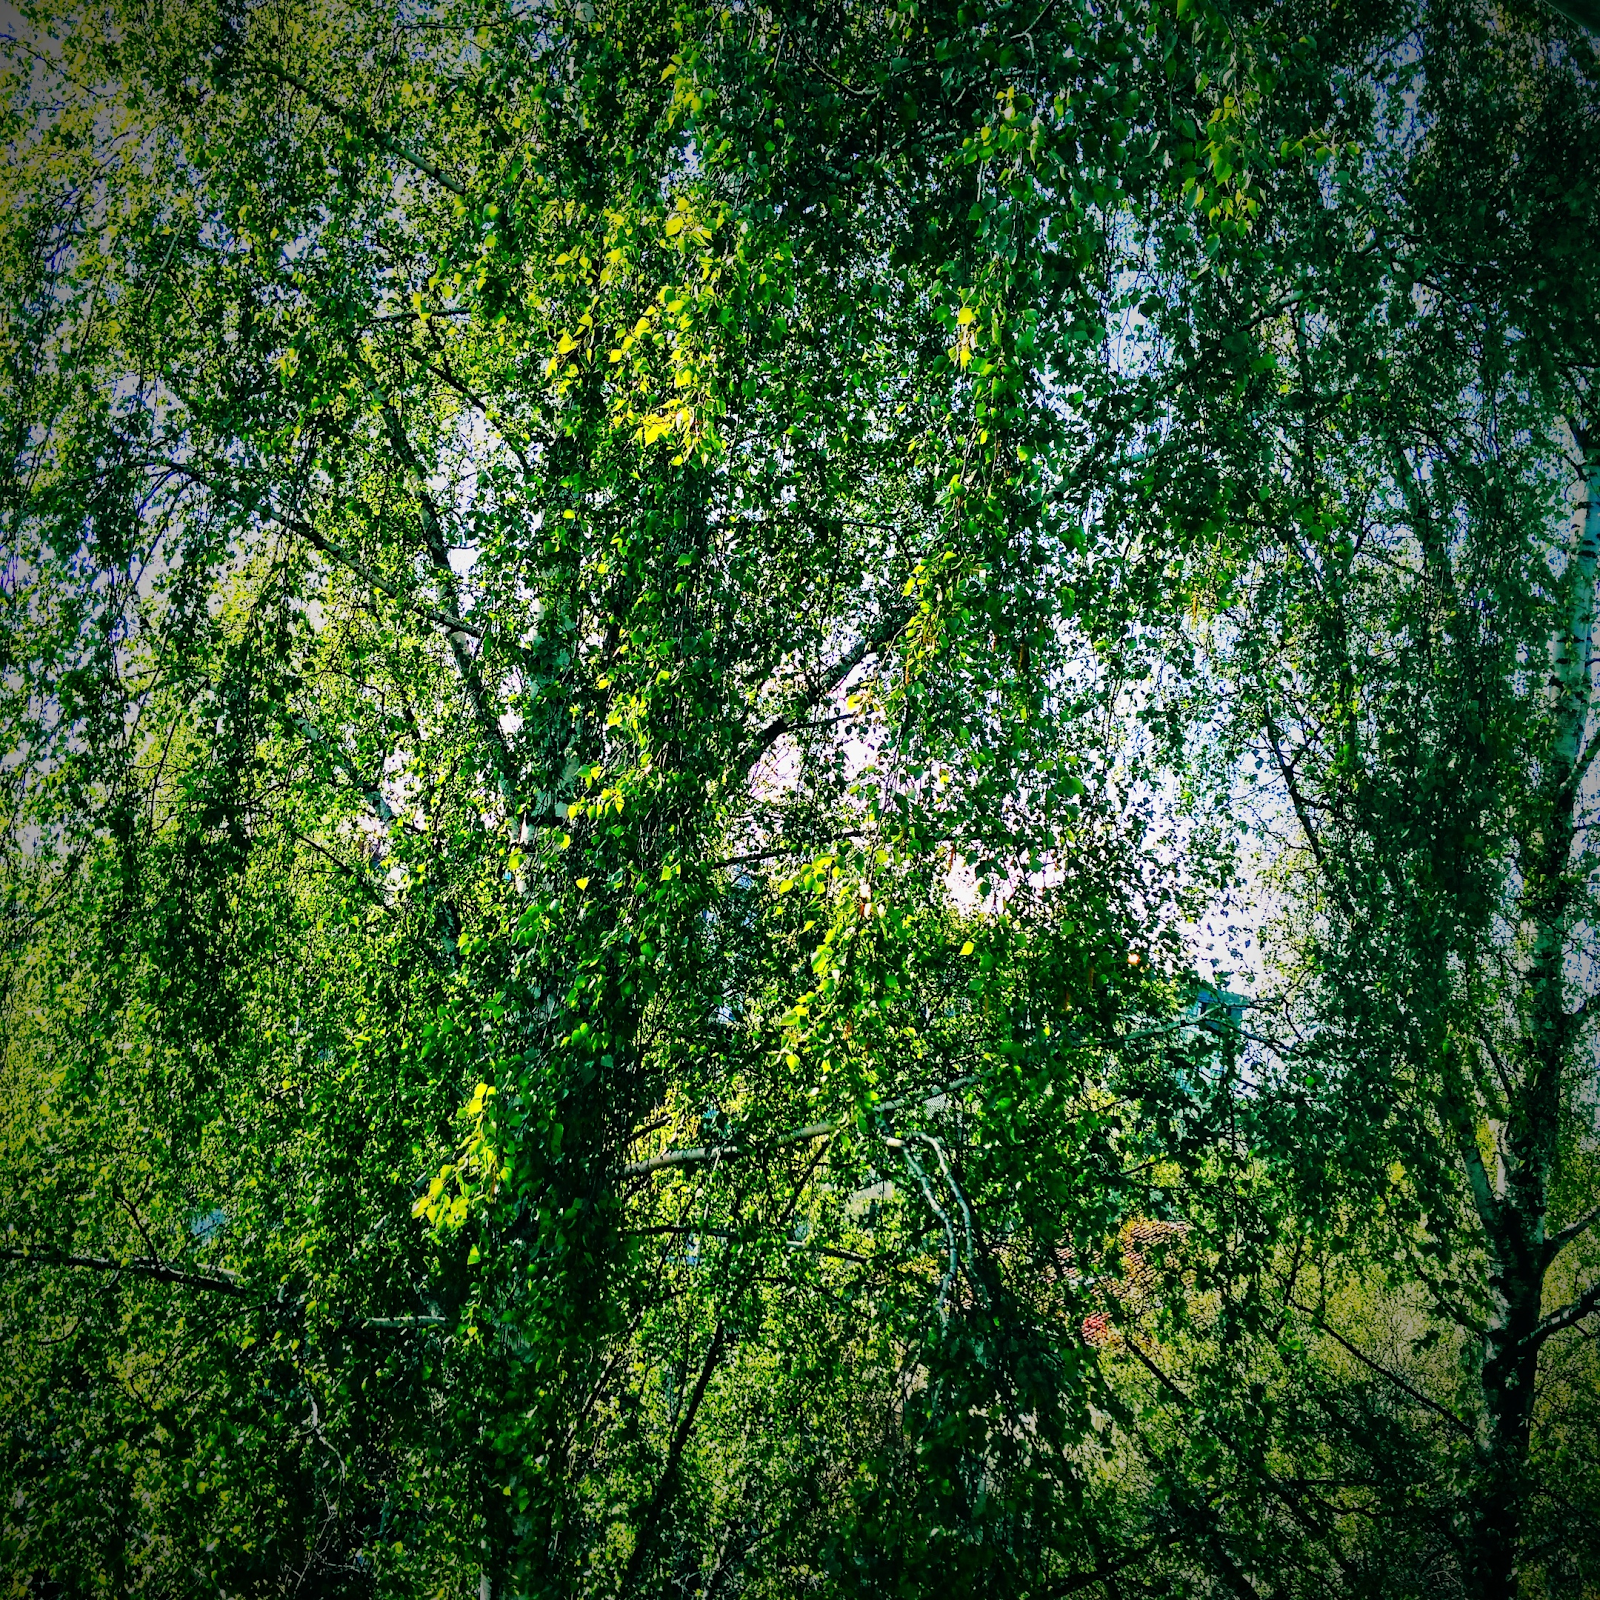
Many people know that there are filters on Instagram. But few know how to use them correctly! But this is a whole separate art. It’s enough to look at the work of some “photographers” a decade ago, when Instagram just came to light: a thick vignette and a dazzling whiteness in the middle. Not very aesthetically pleasing to a person of our time. Kind of... this:
To avoid the problem of “oversaturation” filters, you need to understand what kind of photo is generally needed for your type. It depends not only on what effect you want to get, but also what you shoot. For portraits and landscapes, different filters are better suited.
There are no strict recommendations for which photo which filter is best suited. If you do not have a taste, then you need to develop it - without a sense of beauty on Instagram you will have to tight. The question of choosing a filter is just a matter of individuality and creativity, your vision. Do you think that the filter from the “landscapes” section suits your portrait more than anything else? Well, no one will blame. Why get hung up on templates that someone made long ago?
However, some recommendations for more successful photography still exist.
What you should pay attention to?
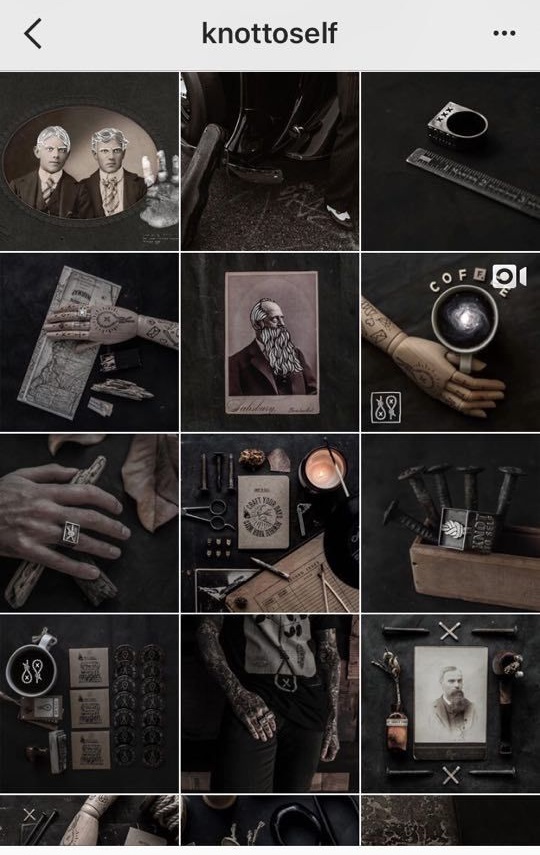
- We recommend using one or two filters for your Instagram to thereby preserve its overall style and atmosphere.
- Use filters from VSCO - a standalone application that may well replace or supplement the list of original instagram filters. Many popular bloggers use it.
- Filters are not a complete replacement for the photo editor. And, unlike him, requires a minimum amount of body movements. No need to try to put a bunch of filters on top of each other in an attempt to “add a little red”, “remove the green”, “cover up the pimple” and so on. They are not meant for this.
- Life hack: you can control the saturation of the filter by double-clicking on its thumbnail in the menu. It is very useful for some particularly strong filters that look ugly in their usual position, too bright and elaborate.
- Try to maintain the visibility of dark and light areas of the photo if you darken or brighten it. If you intentionally want to hide some objects in the dark, but you should not use filters for this.
- Do not try to give the photo a shade that does not suit it. If you originally shot cold colors, then the filters for it should be cold. It’s better, of course, to try to take neutral pictures so that you can take them in any convenient direction.
